Tips and Tricks for Home Office Filming
Between the huge shift of the workforce to working from home (WFH) and the technological advancements in video chat and remote filming, it has become extremely popular to produce videos, podcasts, webinars, and other pieces of content from home offices. Unfortunately, this isn’t always the easiest practice. In this article, we go over some tips and tricks for optimizing filming from home.
Home Studio Equipment
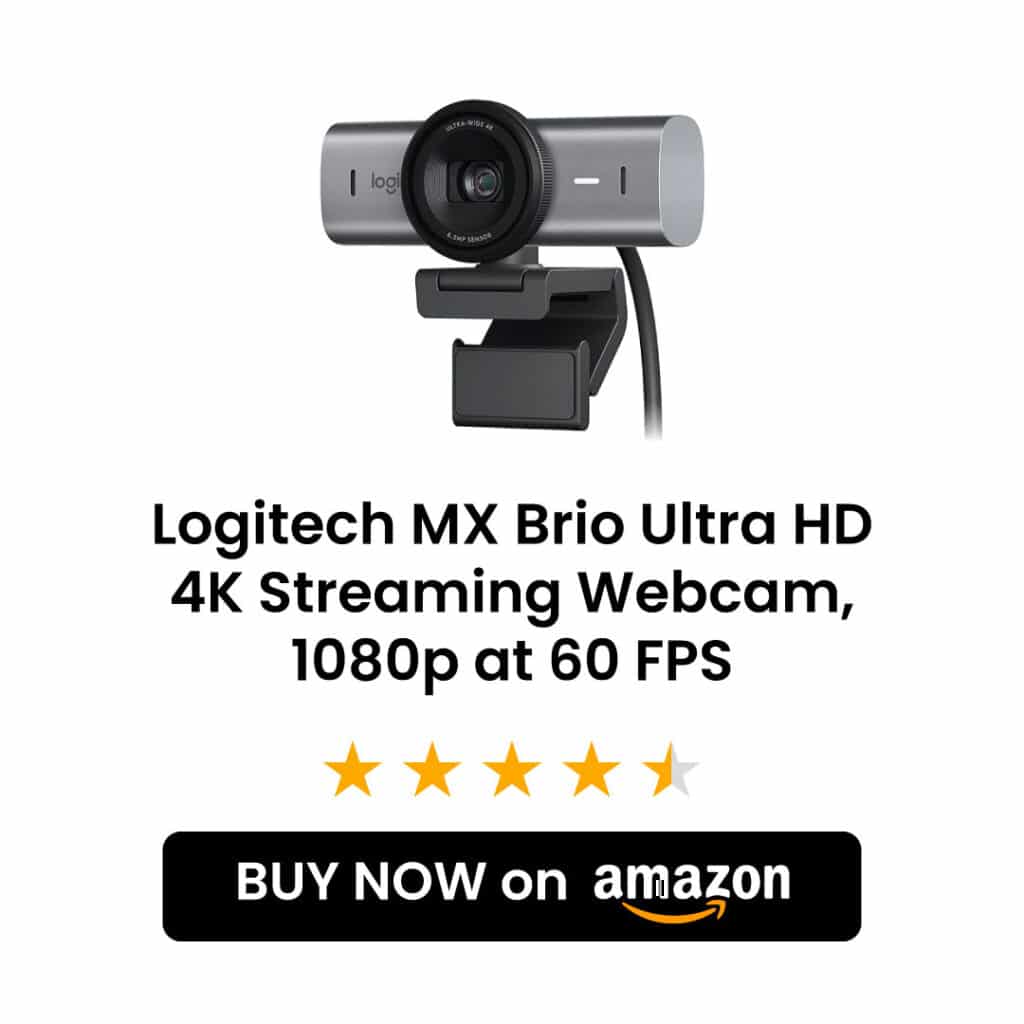
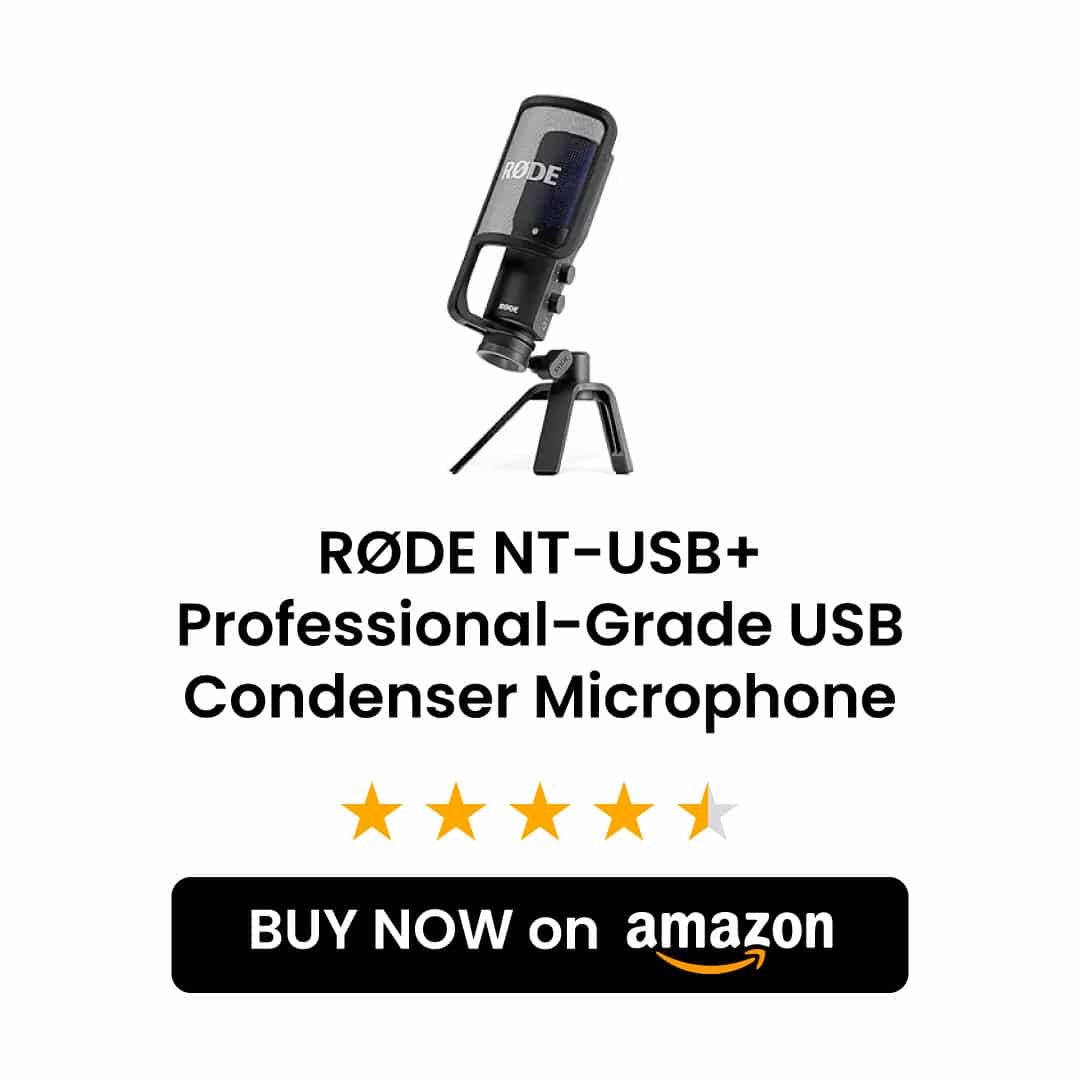
To film and look good, you will need three basic pieces of equipment: a computer/laptop with internet access, a camera, and a microphone. While most computers today have audio and visual capabilities built in, they are rarely very high quality and are meant more for video chat. If you are looking to produce higher quality video with clean and crisp sound, you should highly consider investing in some home studio equipment.
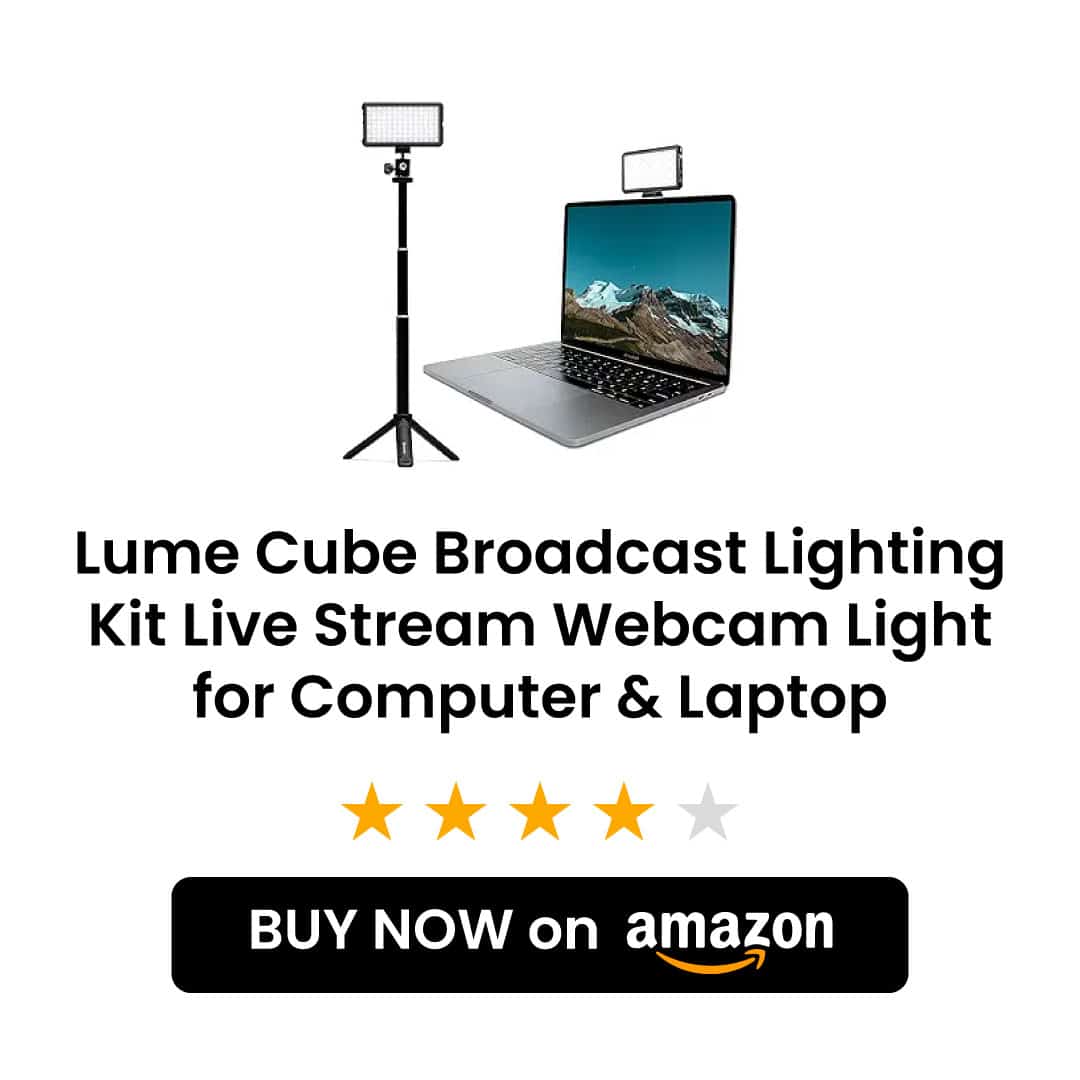
There are a lot of very nice quality webcams and microphones available that can plug right into your computer to majorly enhance your audio/visual quality. Furthermore, if you plan on filming frequently, or if the room you work in has poor lighting, purchasing filming lights that can hook onto your desk will greatly improve your on-screen appearance.

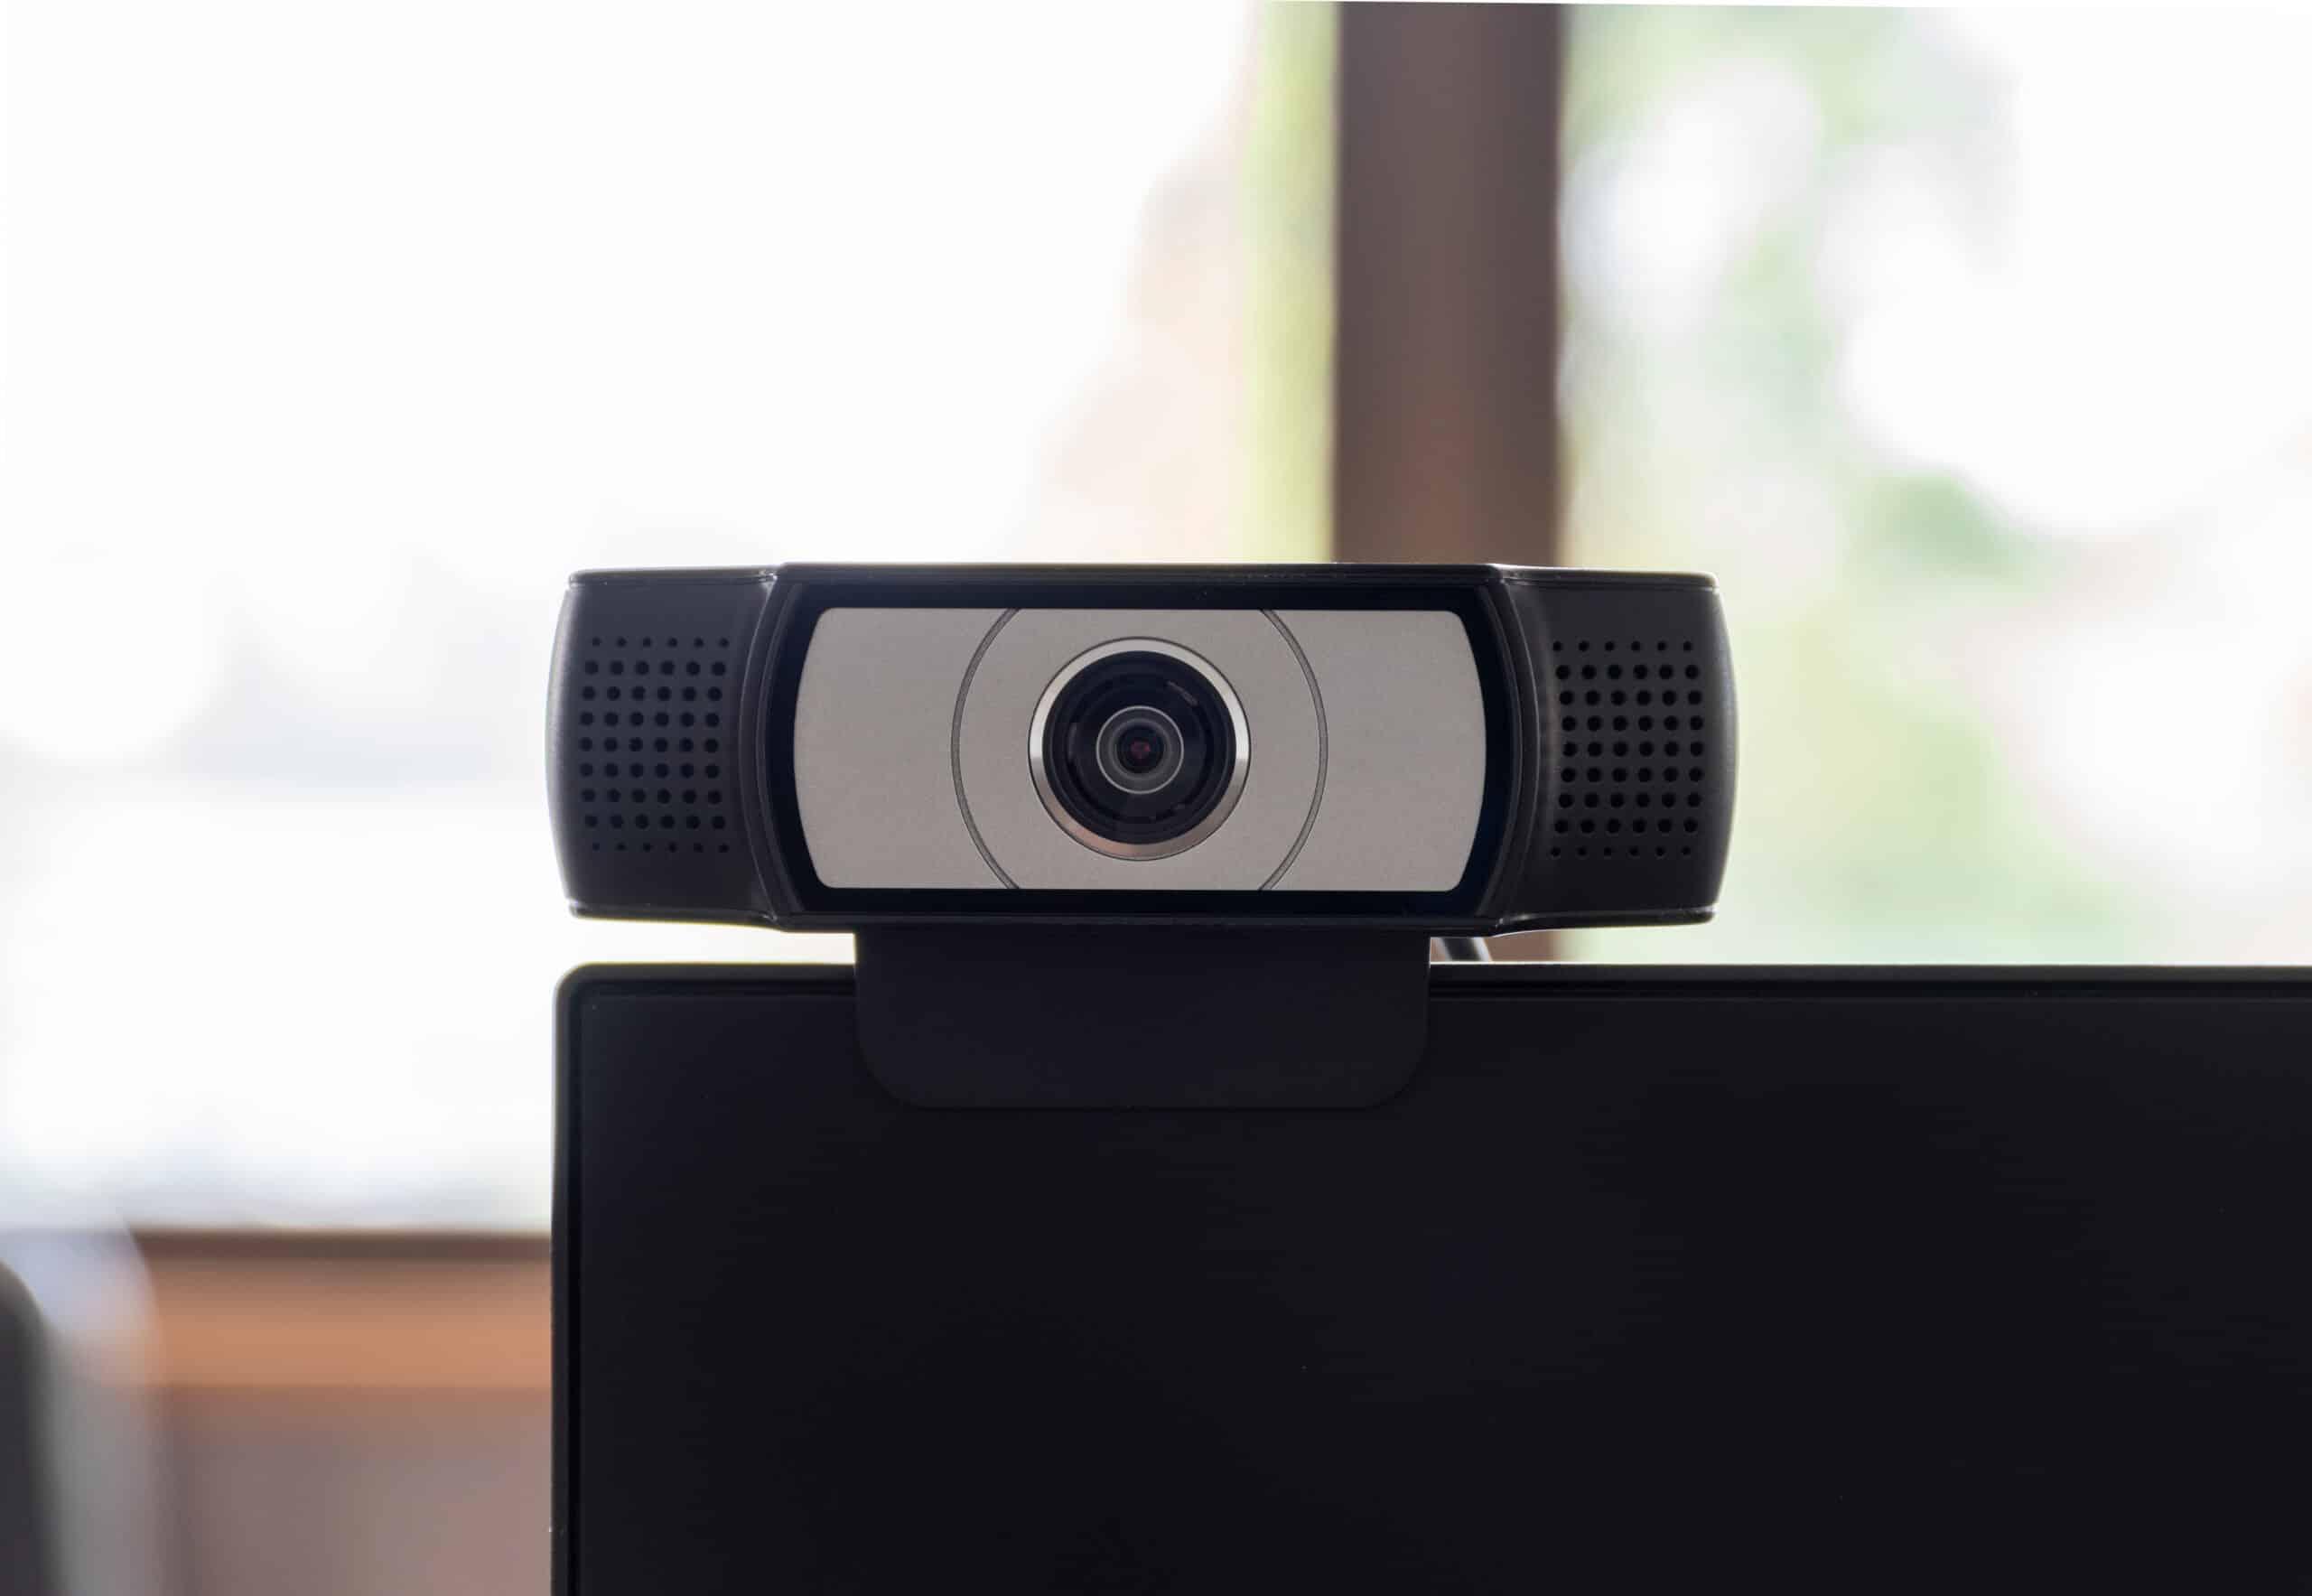
There are a lot of very nice quality webcams and microphones available that can plug right into your computer to majorly enhance your audio/visual quality. Furthermore, if you plan on filming frequently, or if the room you work in has poor lighting, purchasing filming lights that can hook onto your desk will greatly improve your on-screen appearance.
Hot Tip! Here are some links to high-quality home studio equipment that we recommend:
Tips for Looking Professional
The first thing to consider when aiming to look professional on camera is the framing. This means paying attention to the placement and position of everything in the shot. While this also includes your background, in this section, we are going to focus on your position within the frame in conjunction with the surrounding negative space. You want to aim to have your camera capture you from the chest up, leaving a small space above your head. This positioning will have you highlighted within the frame, without dominating the entire space. It’s crucial to have space on either side of you and above you to create balance, but conversely, you do not want to have too much space, making you look small. A very common error that occurs with at-home filming is leaning in towards the camera which completely throws off the balance of the framing, making you appear as either a floating head or, in some cases, even just a portion of a face. The final step to ensuring your framing is ideal is checking that the camera is level; you do not want to film an entire session only to find out at the end that the shot was crooked the whole time.


The next step to consider is your wardrobe choices. For example, a tank top blouse with long hair draped on either side or even a sleeveless dress, while they may be appropriate in a live setting, can sometimes appear on webcams as though the wearer is without clothes. Another wardrobe faux paw is selecting the exact same shirt color as your chair or background, causing you to blend in and look a bit like a floating head. By selecting a top that covers your shoulders and contrasts somewhat with your background or chair, you will be set with a good wardrobe base for your filming session.


Beyond your wardrobe, it is important to consider your expressions and body language on camera. Primarily webcams will film you from the chest up, meaning that your head movements, facial expressions, and eye contact will all be very prominent. Finding a way to strike a balance with each of these will help you put your best foot forward.
Starting with movement; you want to be sure you aren’t shifting around a ton while also avoiding becoming rigid and still like a statue – both of which can happen due to nerves. If you tend to freeze up on camera, try shifting or tilting your head every once in a while and, if you are filming with others, feel free to react to what they are saying by laughing and smiling. You don’t want to be stuck with a stone face that makes you seem bored or annoyed. On the other hand, if you find it hard to sit still, try using a stress ball or other handheld fidget tools to redirect your energy. In both cases, watching your video feed out of your peripherals can help you judge if your movements are erratic, statuesque, or nicely balanced.


Speaking of your peripherals, they are a great tool to keep track of your fellow presenters while filming since looking directly at their video feeds often looks like you are looking down. With such a small video frame, eye movements that feel small to you can actually look very big on screen. Try your best to look at the camera and avoid having your eyes wander throughout the session. This also pertains to looking at notes. It is a great idea to have notes and glancing at them every so often is absolutely fine during a filming session, but you want to avoid reading notes as though they are a script – without fail, this makes videos seem very stiff and robotic. Similarly, in filmed presentations, you do not want to just read your slides; use them as jumping-off points for the discussion.
Hot Tip! – If you find yourself struggling with wandering eyes and/or have difficulty looking at a camera while filming, it can be helpful to stick a fun colorful sticker next to the camera lens as a visual reminder of where you want most of your eye contact to be.
Ideal Filming Background
Designing a nice background behind your desk is a surefire way to create a sense of professionalism and authority in your videos. When curating the items in your background, it’s essential to consider the framing and, therefore, what can and cannot be seen in your room. You want to aim for the items that can be seen to both be professional and reflect your personality. As a standard practice, it is great to have a wall with artwork, shelves, a table, etc. On the flip side, you definitely want to avoid the following:
- Food-related items (take out bags, dirty dishes, half-eaten lunch, etc.)
- Household clutter (dirty laundry, moving boxes, open closet doors, etc.)
- Any messes (broken items, spills, items tipped over, pictures falling off the wall)
- Common walkways (where people may pass by in the background)
- Controversial items (weapons, political posters, drug paraphernalia, etc.)
- Mirrors (large enough to show other parts of the room and/or other people)
- Anything “growing out of your head” (it’s distracting if a coat hanger, plant, etc. is directly behind you, making it look like it’s coming out of your head)
- A window directly behind you (this typically doesn’t apply if the window is offset)
Lighting is another very important factor you consider. As mentioned above, you want to avoid ever having a window directly behind you as this can create a silhouette effect and you end up looking like a dark shadow on film. Similarly, you don’t want to have a lamp right behind you for the same reason. You also want to try to avoid having only overhead lights which can cast shadows and cause an overall poor look. Ideally, try to have at least one light source in front of you, whether it is next to or behind your computer. This will light your face properly for videos.


Hot Tip! – In a pinch, virtual backgrounds are a great resource, but if you are regularly filming, curating a personalized background setting will ensure the best video quality.
Filming and Video Applications
There are a variety of different applications that can be used for remote filming. Here are three of the most popular ones along with some of their pros and cons:
Zoom
Zoom is a cloud-based communication platform. While it is primarily known for video conferencing and online meetings, Zoom also has live webinar capabilities.
Pros –
- Easy to use – intuitive interface
- Free web conferences up to 40 minutes
- Supports large audiences
- Features
- Virtual backgrounds
- Screen share
- Chat
- Polls
- Raise hand
Cons –
- Limited Free Plan
- Technological glitches – a lot of users report technical issues, especially with the webinar features
- Customer service – some users report that it is difficult to reach and receive assistance from customer service representatives
- Security concerns – Zoom has faced criticism in the past for a variety of security concerns
Demio
Demio is a webinar platform that can host both live and automated webinars.
Pros –
- Easy to use – intuitive interface
- Accessibility – Demio is browser-based, so attendees don’t need to download software, and it’s also compatible with many browsers
- Customer service – 24/7 access to customer support
- Features
- Screen share
- Chat
- Polls/Surveys
- Downloadable resources (allowing the audience to download presentations, videos, documents, etc.)
- Calls to Action (prompting audience to participate in different activities throughout the webinar)
- Virtual backgrounds
Cons –
- Technical glitches – some users report audio and visual difficulties
- Instability – likely to glitch out if internet speeds are low
- Customer Service – while their support is supposedly available 24/7, some users report that the actual support is poor and unhelpful
Riverside.fm
Riverside.fm is a browser-based recording studio built for recording raw videos to be edited and published.
Pros –
- Easy to use – intuitive interface
- Perfect for filming videos/podcasts ahead of time
- High-quality video – captures the video of both the host and presenter locally as separate video files, resulting in far better image quality that can be merged in post-production (audio recordings are WAV 48 kHz 16-bit format, and video recordings are up to 4K resolution)
- Can record up to 60 minutes for free
- Automatic upload – all participant’s videos are automatically uploaded to the host’s studio
- Guests/participants do not need an account
- Reliable – users report few complications using the studio
- Features
- Audio transcription
- Mobile usage
- Separate audio and video tracks
- Auto noise reduction and echo cancellation
- Script/notes
- Screen share
Cons –
- No live videos
- Limited participants – can only have 8 people filming in the studio at one time (1 host and 7 participants)
Best Practices
First and foremost, while it may seem ridiculous, it is important to check the computer/laptop that you are using to ensure that it does have a webcam and microphone – whether internally built into the system, or external equipment that is linked. Especially when traveling or using office equipment that is new to you, you do not want to assume that everything will be available and working properly at the time of recording. Taking a few seconds at least an hour before your intended filming time to check your equipment can help avoid an extremely embarrassing and frustrating time when you log on for your filming session if the system is not as expected.
Similarly, it is important to check that both your audio and visual equipment are in working order. Joining your filming session roughly 15 minutes in advance of recording should allow you plenty of time to troubleshoot if something is not working properly.
Hot Tip! – A somewhat common problem we see with laptops is the system suddenly not being able to recognize the built-in microphone/speaker. An easy fix for this is just doing a quick restart of the laptop. 99% of the time the restart will completely fix the problem.
About Branding Arc
Branding Arc is the only full-service marketing firm dedicated to the receivables management sector of the financial services industry. We manage the websites, search engine optimization, and online reputations of over 100 receivables firms across all disciplines, including debt buyers, collection agencies, law firms, creditors, and their service providers.
Through the creation and distribution of compelling, targeted marketing campaigns, we help companies improve their reputations, recruit staff, find clients, and establish a strong online presence.


