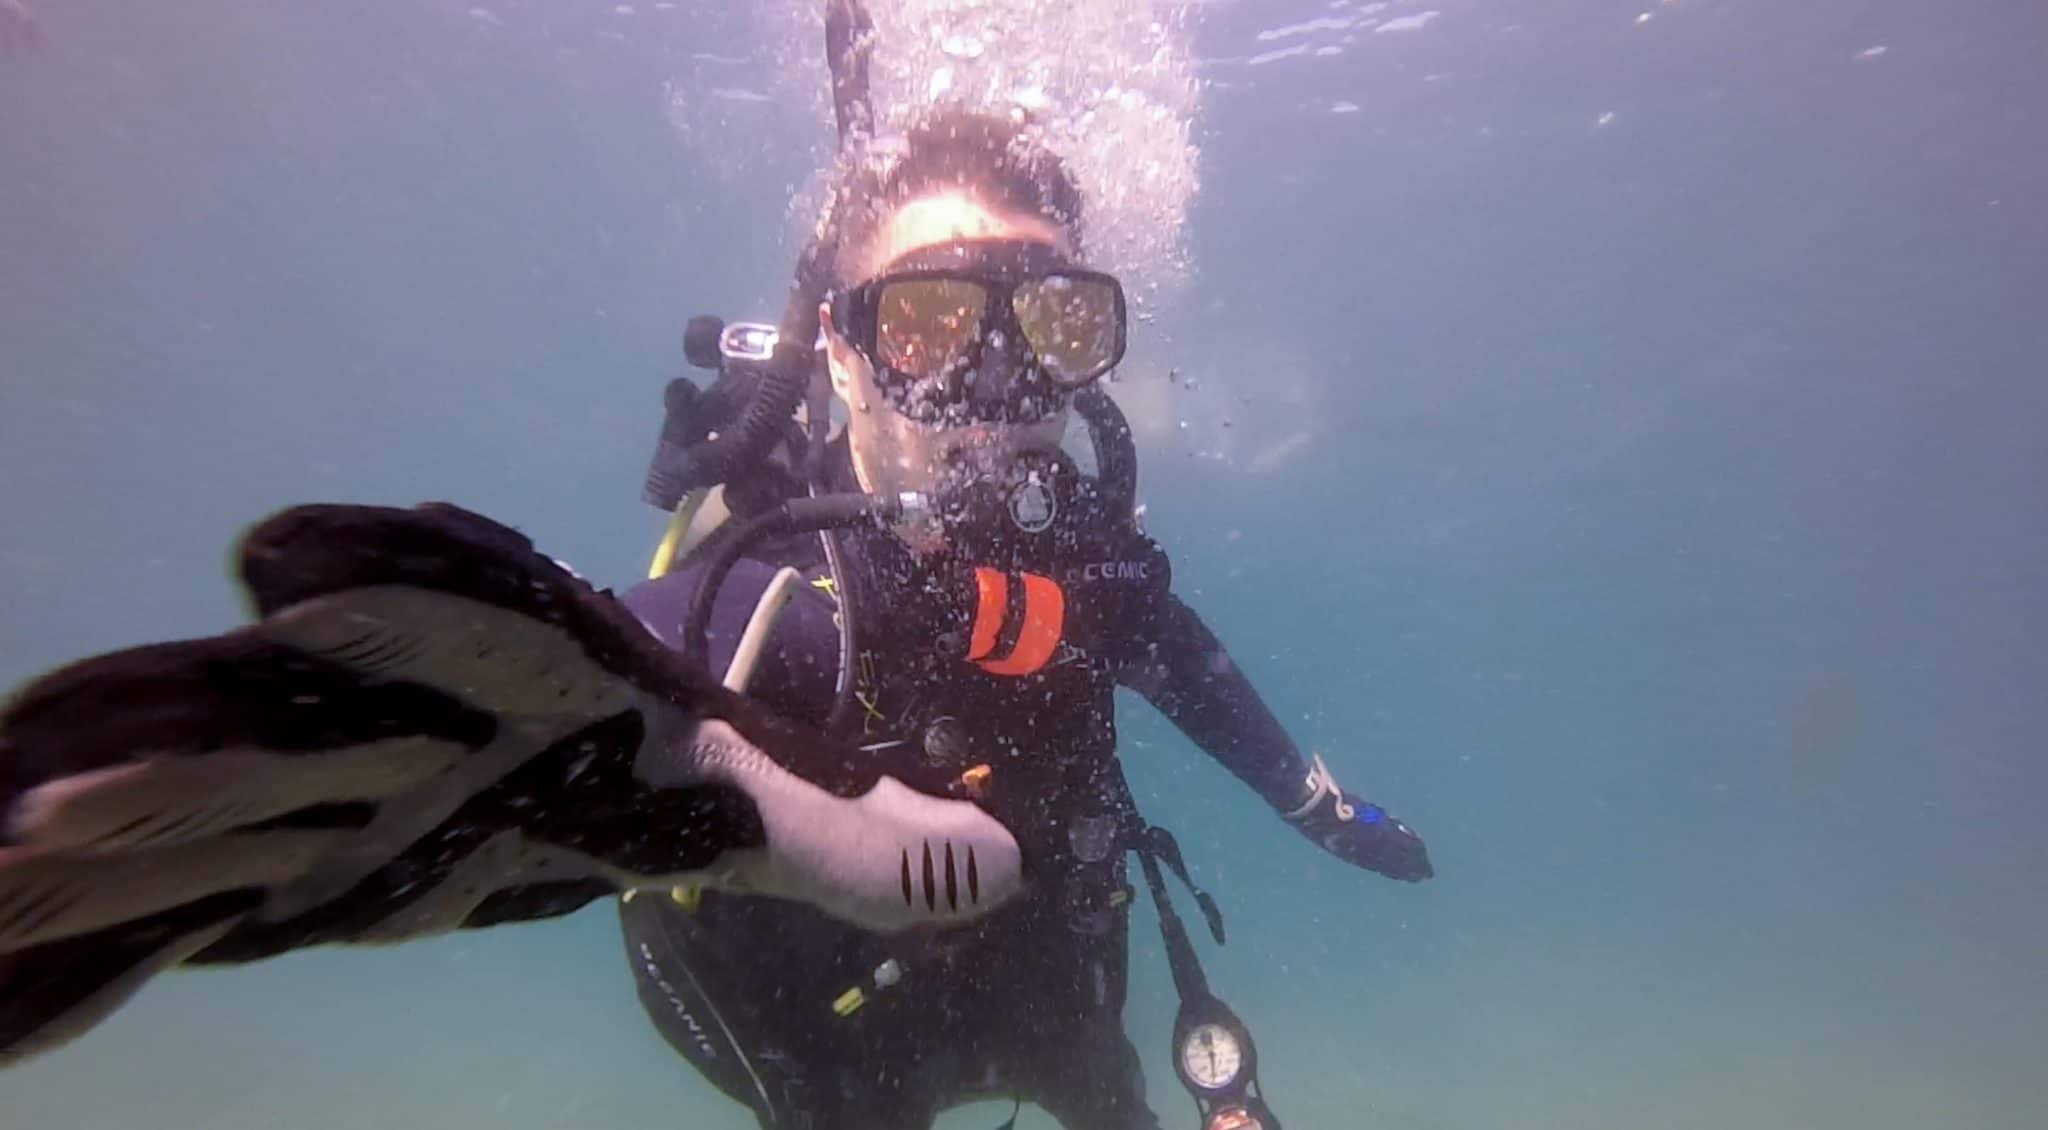
Underwater Photography with GoPro Hero 3 Plus

Using a GoPro camera in the water is a lot of fun. It is an affordable way to capture footage that would have otherwise been impossible. Getting your GoPro wet can be a lot of fun, and there are some things you can do to help improve the quality of the footage you are capturing.
The Original GoPro
Since the Original GoPro cameras became available, they have been constantly upgrading them to perform better under extreme conditions. We had filmed a video a few years ago with the help of our friends at the PB Boys Club. We tested out a few scenarios in the original video, most of which was done at the surface of surf boards or occasionally free diving down to a reef to capture footage of the fish. The footage at the surface had great color, but as we dove down, the blue tint overpowered the color of the fish and the video didn’t really capture the experience.
See my YouTube video with the Original GoPro
Color Spectrum
With the newer GoPro Hero 3, we shot some similar footage at a variety of depths and using some different tools to help improve the footage. We tried shooting the GoPro without any filters at 6ft, 15ft, 30ft and 60ft to see the color differences in objects. At full resolution the camera does capture incredible detail of the wildlife, but it overpowers the colors.
See our YouTube video with GoPro Hero 3 Plus (w/o filter)
Bring Your Own Light
To counter filtered sunlight, you have the option of bringing your own light down with you. If the light source is at the same depth as the camera, you do not lose the color in the same way you do with sunlight. Providing your own light source can balance out the color and is the choice of professional underwater photographers. There are different ways to bring your own lights and many people purchase or build their own rigs for housing the GoPro camera, two handles and two flashlights. These rigs can provide their own light and using handles helps to keep things steady.
Red Lens Filters
If you don’t want to bring your own light source, GoPro sells a red filter (Available on Amazon – $48.42) that fits over the camera housing. The red filter helps to counter the loss of red light as you get deeper. The red filter works great once you get past a depth of 10 ft, but it gives everything a red tint at the surface and at depths shallower than 10 ft. There are some aftermarket filters that allow you to open and close the filter, which could be useful for shallow dives.
The best example video to clearly demonstrate the differences between lighting and filters is available on YouTube.
Extendable Pole
There are many different mounts and poles you can use underwater, and each have their advantages and disadvantages. I chose the SeaLife AquaPod (Available on Amazon – $69.00). Using a pole mount for your GoPro allows you to position the camera closer to objects than if you were holding it in your hand. For example I have used this mount to get the camera much closer to large stingray than I would have been able to safely get if I had been holding the camera. I clip the pole to my BCD while diving (so I don’t have to worry about it) and can quickly extend the pole when I want to use it.
Keep it Connected (and Floating)
If you are going to take your GoPro camera on deep dives or even free dives, it is a good idea to keep it attached to you. You can use a wrist strap, mount or anything else, but GoPro’s are small, and they sink (unless you have a float attached). If you drop it, you can spend the rest of the trip trying to recover it. If you are playing in the waves I suggest attaching a float to your GoPro camera casing (Available on Amazon – $10.99). If you are going diving, it is better to just attach the GoPro to your BCD using a retractable pull (Available on Amazon – $14.09).


